


Where to Find Highly Recommended Tattoo Artists Sydney Wide
Sydney’s tattoo scene is full of creative energy, with some of Australia’s most talented…

The Criteria for Finding the Best Tattoo Artist Sydney Relies On
How to Choose the Best Tattoo Artist in Sydney? Choosing the right tattoo artist…
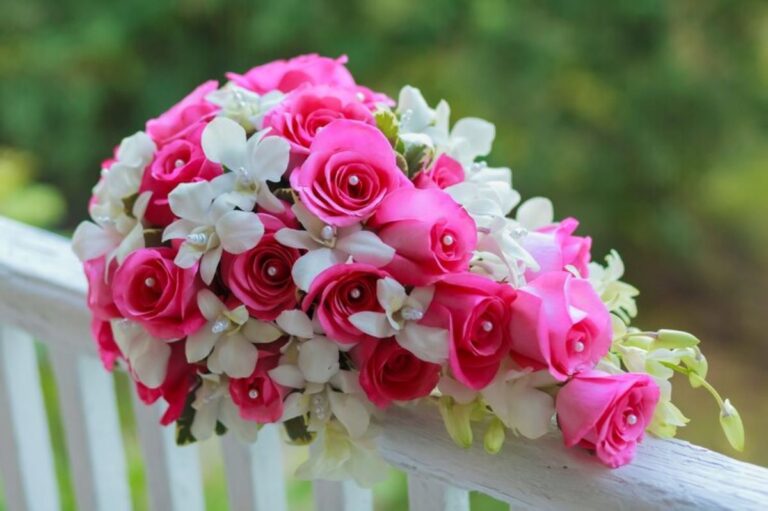
The Meaning Behind the Most Popular Anniversary Flowers
Anniversaries are a time to celebrate the love and commitment that has grown between…
"I needed a last-minute flower delivery in Mosman, and Mind Meow exceeded my expectations! The bouquet was stunning, and the same-day delivery saved the day. Will definitely order again!"

Sophie L