


Find the Best St Leonards Flower Delivery for Every Occasion
When it comes to expressing emotions, flowers have an unparalleled ability to convey sentiments…

St Leonards Florist: Top Picks for Fresh and Beautiful Flowers
In the vibrant suburb of St Leonards, the floral scene is as diverse as…
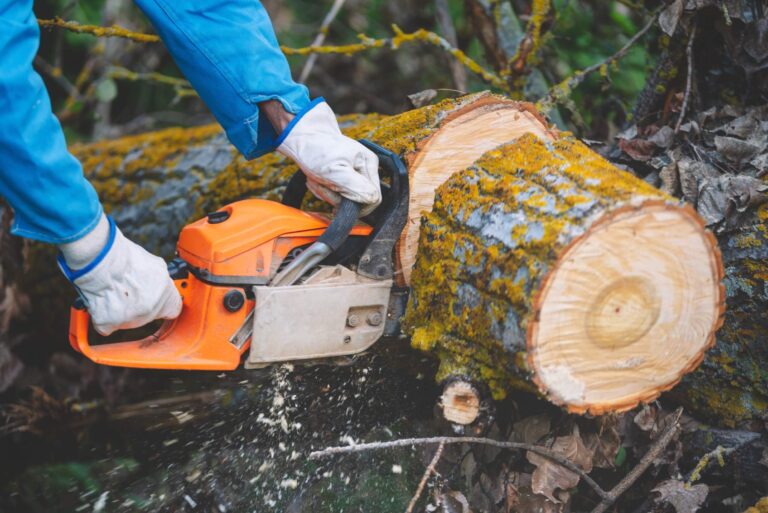
Tree Removal Hills District: Reliable Services for Your Home
Understanding the Importance of Tree Removal Tree removal is a crucial aspect of maintaining…

"I needed a last-minute flower delivery in Mosman, and Mind Meow exceeded my expectations! The bouquet was stunning, and the same-day delivery saved the day. Will definitely order again!"

Sophie L